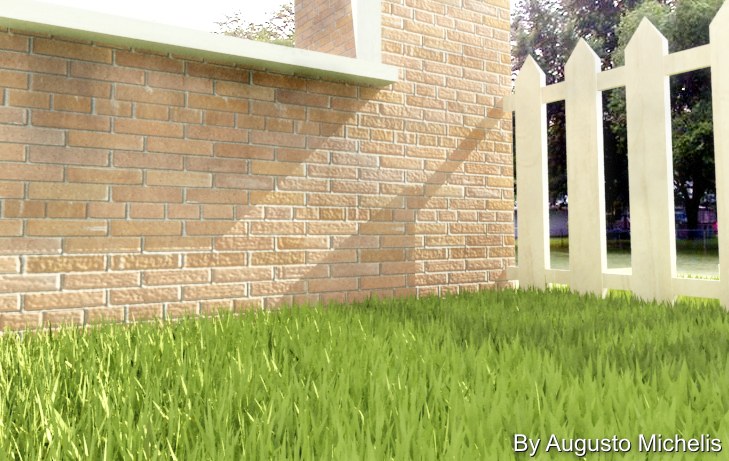
In this tutorial Im going to show you one way to create polygonal grass.
Intro:
Software needed : trueParticle Plugin, (Included
in tS6.6 and 7.x)
 |
We must keep in mind, to create convincing grass we need
to manage a huge amount of grass blades (polygons).
|
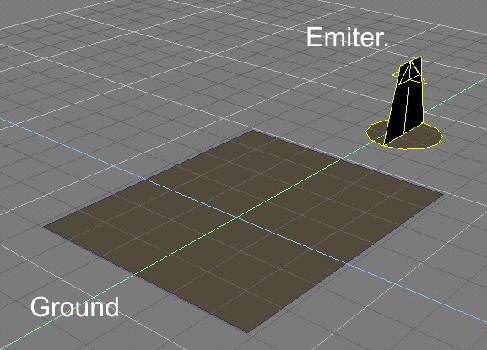 |
First we need to create the ground where the grass will
be located.
I recommend a Plane, but it could also be a complex mesh with hills for example.
|
 |
Now, we must load a blade of grass, here
is my example (blade.cob) or you can make your own. But make sure
the Axes is at the lowest part of the blade.
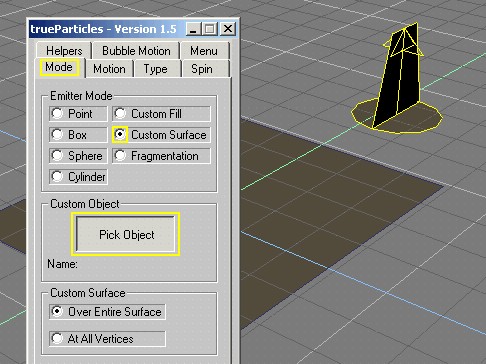
Now, click on the trueParticle plugin. You should see a generic emitter. Clicking on this emitter with the right click button, we are going to see the settings for this emitter. Under the tab Mode in Emitter Mode were going
to select Custom Surface
OK, now we jump to the Motion tab. |
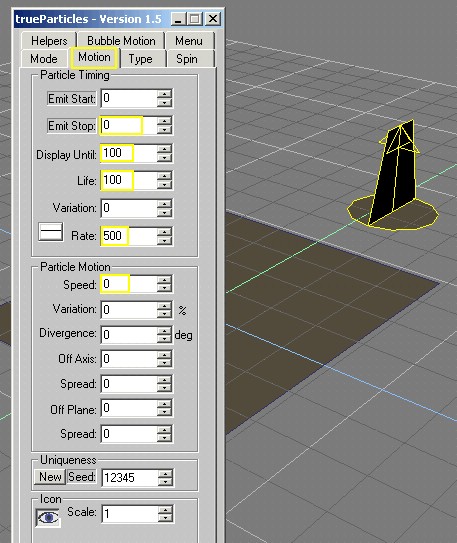 |
OK, now we are on the Motion tab, and we must
enter these settings.
Rate is the amount of objects. 500 is enough for testing, but keep in mind for my pictures I used 20,000. But where is our grass? Thats a little problem.
As you can see, on the Emit Start its set to
0.
To see the particles we to need jump to frame number 1 |
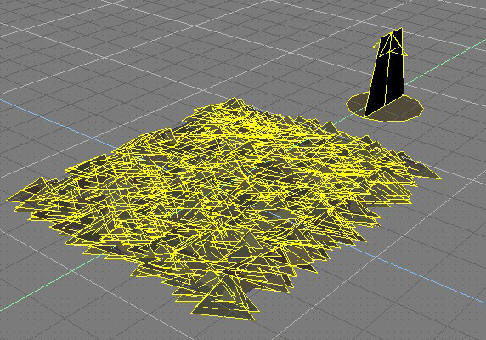 |
But, what is this? Thats not grass!!
Take it Easy Dude!! Step by Step! |
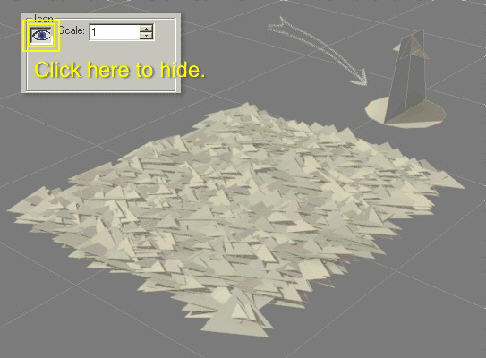 |
Now if you render, you can see the emitter as a visible
object.
Were going to hide it by clicking on the Eye icon. |
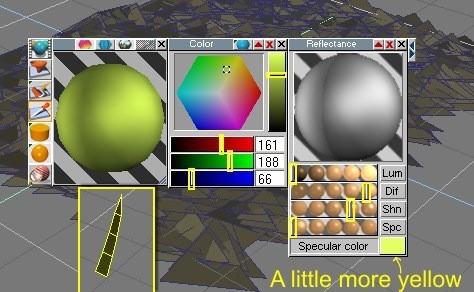 |
Open the Material Editor.
Now lets work a bit on the blade of grass. Before we change to the right particle, we must choose the correct Shader for our blade, in this case I use this setting. |
WOW! We have grass!! |
Again work with the emitter settings, let's jump to the
Type tab.
Over the "Type" tab / inside Particle Type we must click on Picked Object then on Custom Object click Pick Custom Object and choose the blade of grass. |
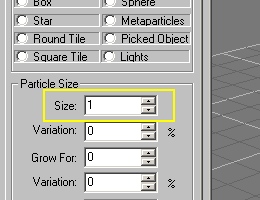 |
But wait!, we must work a bit more to get a more realistic
look.
If you have a larger particle you can reduce or enlarge its size with the "Size" setting. In my case Im going to reduce the: Size = 0.5
|
 |
Lets jump to Spin Tab
Under "Spin" Tab you can add more random settings... |
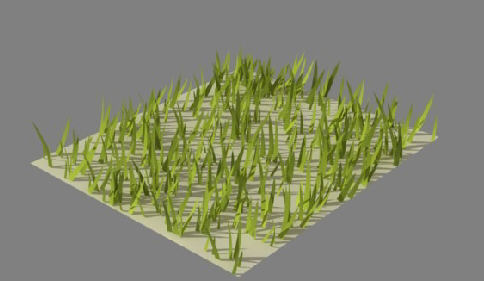 |
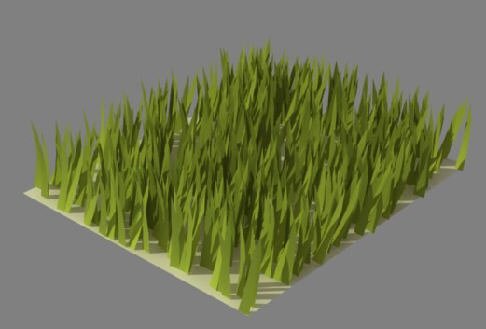
Now that looks more realistic, but we still have a lot
of white space showing.
|
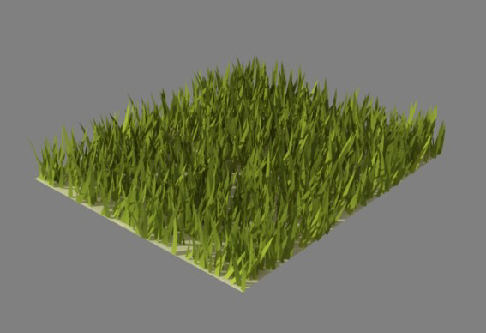 |
To fix that you must jump again to the Motion
Tab and increase the Rate from 500 to 2000 for example.
Much better!! But Im still seeing white areas showing
through.
To fix this, were going to add a grass texture or green
color ( if you dont have a grass texture ) to the ground object, and thats
going to give the illusion that there is more grass.
Now if you still need more grass, you can increase the rate from 2000 to whatever you need. |
| Thats all there is to it. Now you can play golf in Truespace. |
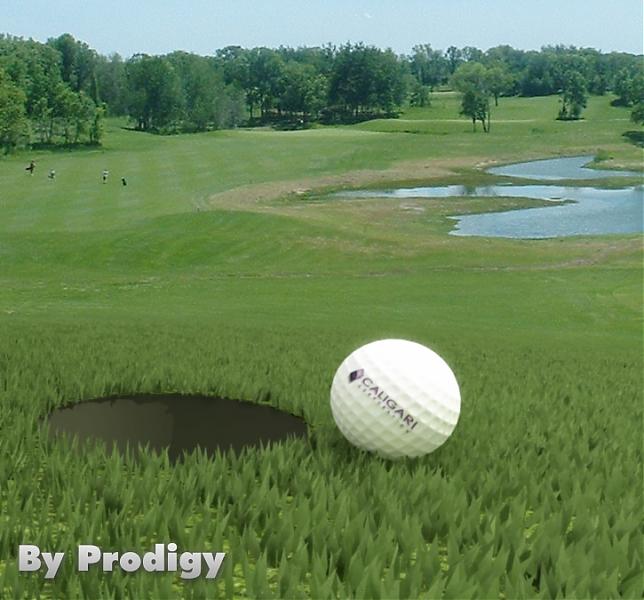
This is one of my best "secrets" in Truespace. Enjoy it!

http://www.united3dartists.com
Sign up today!
return to spacekdet'S tutorial page