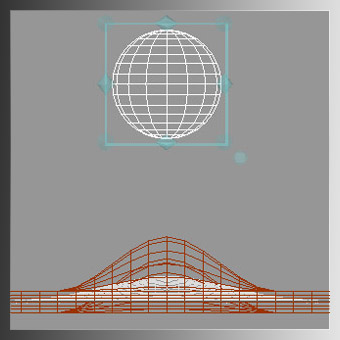
 Tricks and Tips : Tricks and Tips :Deformation Cube Fun by Nigel Doyle Using Deformation objects can be simple and fun! With very little effort, you can
create this sphere bouncing on a trampoline. This forms the foundation for achieving more complex animations. | |
|
1 |
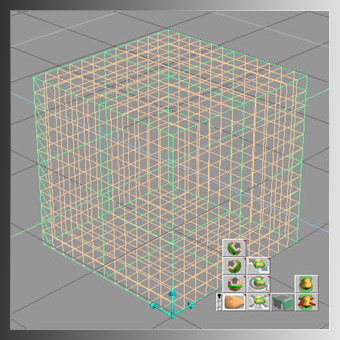
Immediately after the deformation cube is created you are placed into edit mode. Here I have expanded the pop up menu to show the available tools. |
|
2 |
|
|
3 |
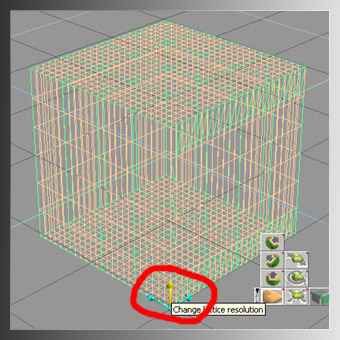
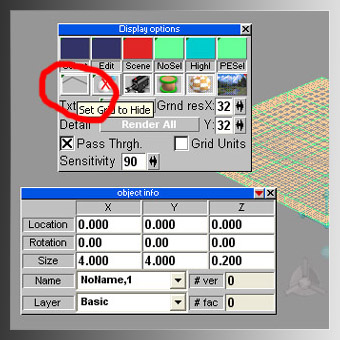
When working with deformation objects it often helps to turn off the grid so that you can see the individual lattice line more easily. |
|
4 |
|
|
5 |
|
|
6 |
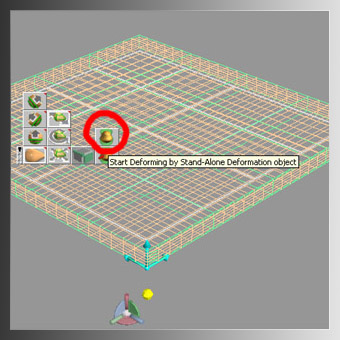
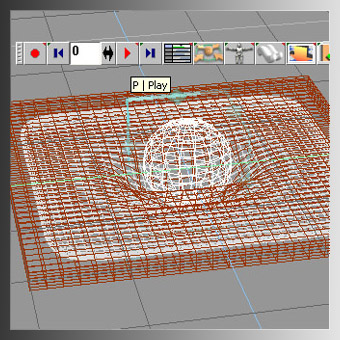
Select the
apply deformation tool as circled here. This changes the cursor to the
familiar trueSpace glue bottle. Just click within the deformation cube
and this will then connect the deformation cube to the cube primitive
Tramp. In the next step we're going to animate 2 of the control points
on the deformation cube. Because this is linked to the Tramp cube, it
will follow along with any transformations. Tech Tip: The "Tramp" cube can be animated separately and the deformation cube's animated transformations will only affect it while all or part of the "Tramp" cube is within the deformation cube. You can also link more than 1 deformation cube to the "Tramp" cube. |
|
7 |
With the "Move" tool selected, enable grid snapping. Right click on the grid tool and change the snap settings to 0.5 for all axes. You may also want to open up a separate view as we want to select both of the center lattice control points. Make sure that auto record is enabled and the frame count is at frame 0. |
|
8 |
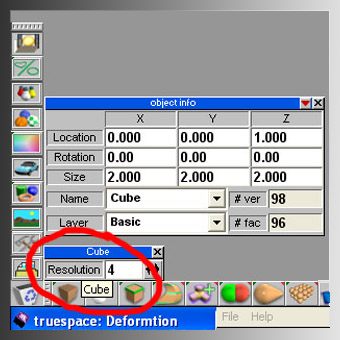
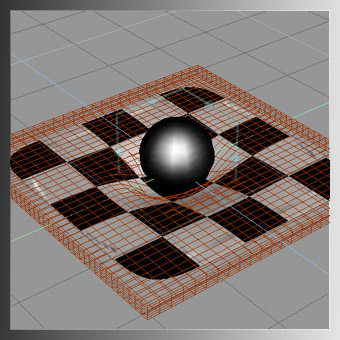
To make the "Tramp" cube smoother still I have applied 3 levels of Sub Division. |
|
9 |
At frame 0 Move the sphere downwards to line up with the top of the "Tramp" pad. This is approximately Z = 0.08. It helps to be in either a side or front view here to animate the sphere Advance the frame count to 10 and move the sphere so that it is above the the "Tramp" pad. Z = 2.0. In this screen shot, notice that the mesh moves a lot higher than the Tramp pad. |
|
10 |
Finally advance the frame count to frame 30 and move the sphere back to its original position Z = 0.08. Check your animation by pressing the play button. |
|
11 |
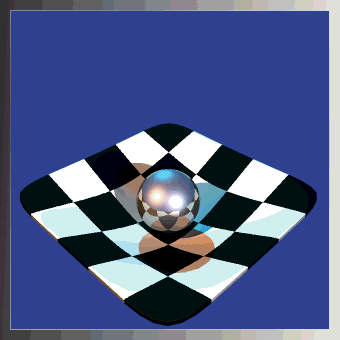
If you want to
make a looping animation like the animated gif above, just render frames
0 to 29. Don't render frame 30 as this is identical to frame 0 and
including it would cause your animation to briefly pause. I used a
shareware program "Gif Construction Set Professional to generate the
animated gif. You can dramatically reduce the file size of the gif if
you keep the background simple or a plain color similar to what I've
done above. For lights, I used the colored lights from the light
library and enabled cast shadows for all 3 lights. |
|
Summary! |
Hopefully I covered something new to you. By animating more lattice control points more complex animations can be achieved. Things like flags or vibrating musical instrument strings can be animated by using the techniques above. Have fun!! |