
Right click the polygon/face that you want to sweep.
This can be a polygon as pictured here or any face of a more complex model.
The Point Edit toolbar pops up after right clicking
on model.
Left click the Macrosweep icon to activate, then right click the icon and click Bend. This ensures that the face is swept along at 90 degrees to the path and follows it smoothly.
Open the Path Library and choose desired path.
Here I've chosen 90 degree arc, it appears as a dotted green line.
If needed, the path can be rotated by clicking and dragging
on it- use side/front/top views to ensure it's headed the way you want.
Now, click Macrosweep again and the face is swept along the path:
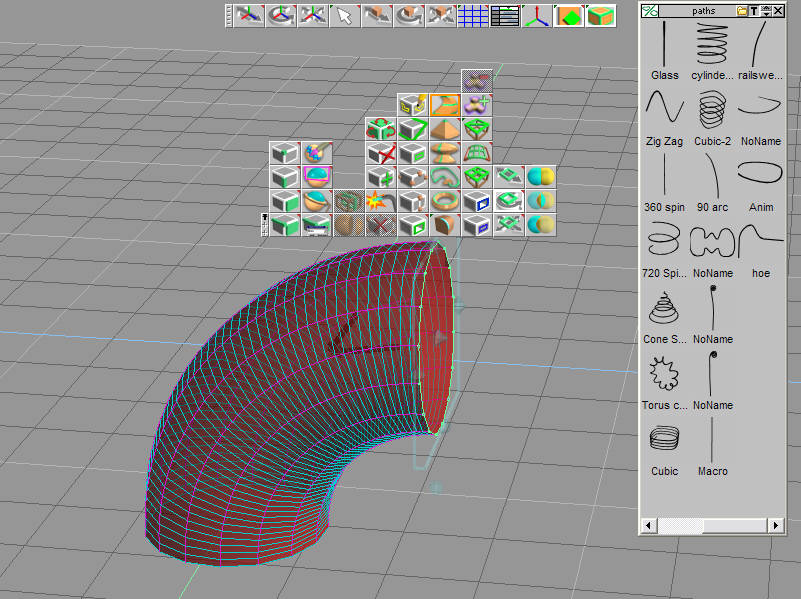
At this point, all the green lines can be further manipulated via Point Edit tools. To perform another Macrosweep, click the Macrosweep icon again:
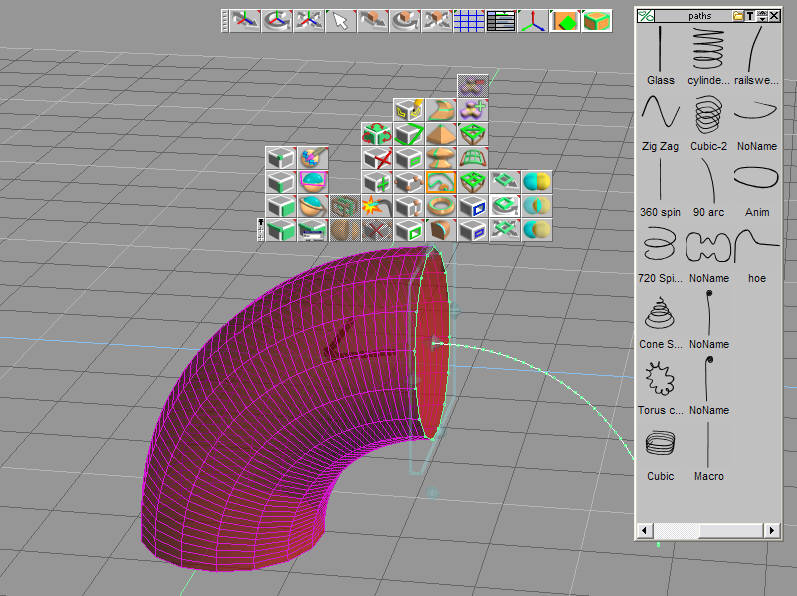
The last used path appears. You can also change paths at this point by clicking on any of the items in the Path Library.
Or, click Macrosweep icon again and the face is swept along the path a second time:
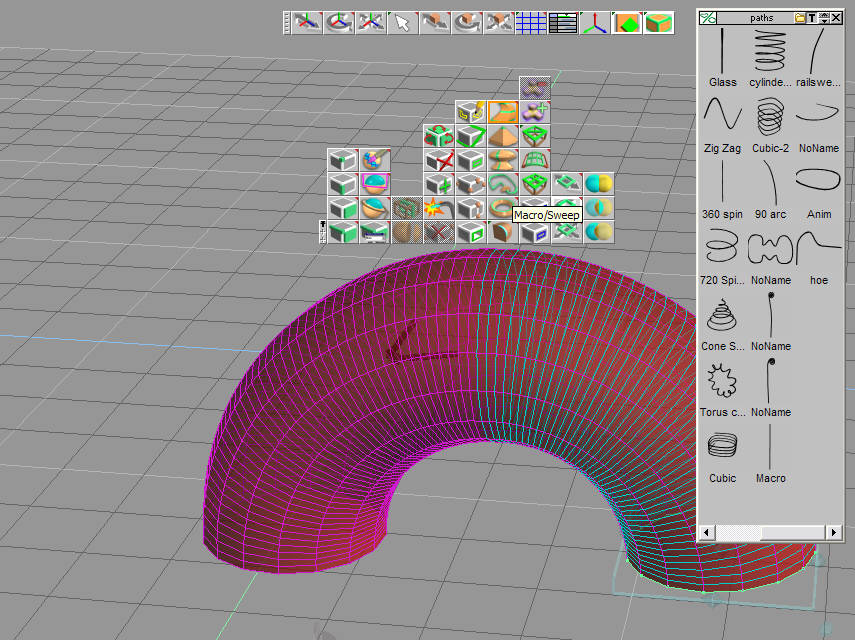
Note that in addition to using the existing Paths in the Library, you can create your own macros.
(Quoting from the manual here:)
To store a new macro in the Path Library, first
define it by executing the sweep/modify sequence to be stored.
Then select the Macro Sweep tool to display the
path.
Next select the Path Library tool from the Libraries
group, and then click on Insert in the Path Library panel.
The macro is stored with a new name. To change the name of the macro, select
it and choose Rename from the path library.
To use a spline polygon or animation path as a sweep
path, create the path using the appropriate tool. Open a paths library
and click on Add Path in the Path Library panel.